BAKING MATERIAL IN ZRUSH
Here's is a simple but very efficient tutorial to export zbrush material into map you can use in external programs.
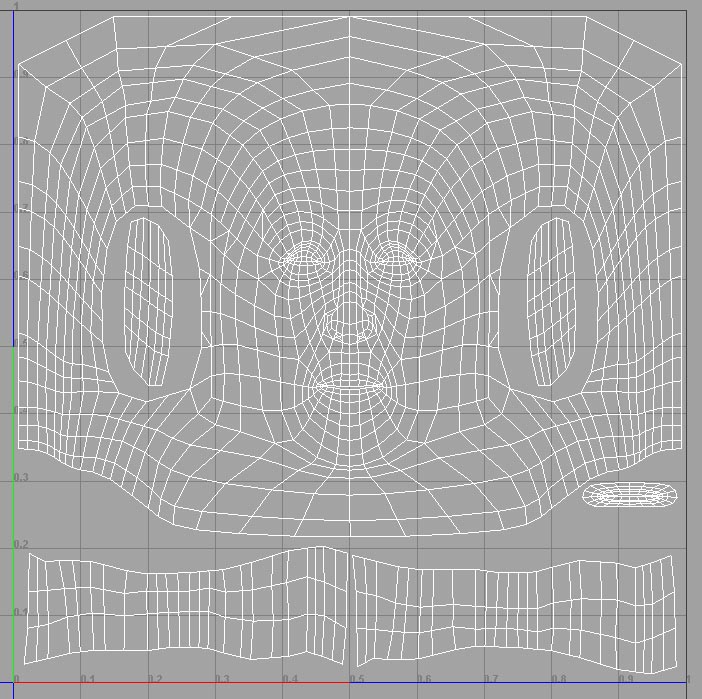
This is the UV layout of my object. The aim is to apply our shader among those UV's, and being able to export the result as a map.
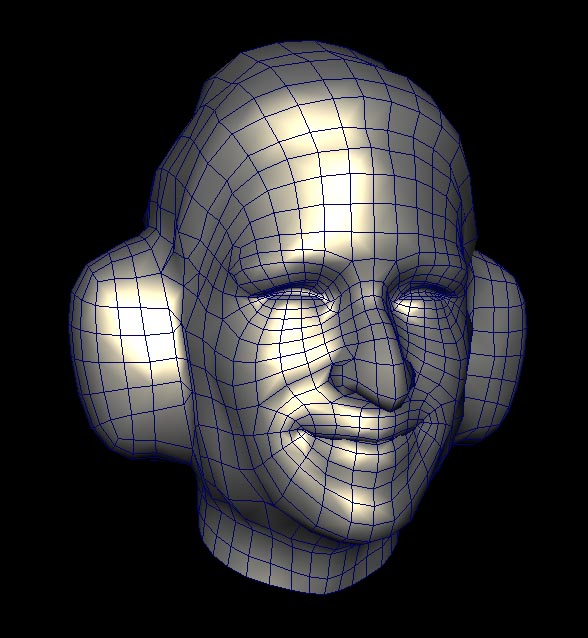
The first step is to load our model :
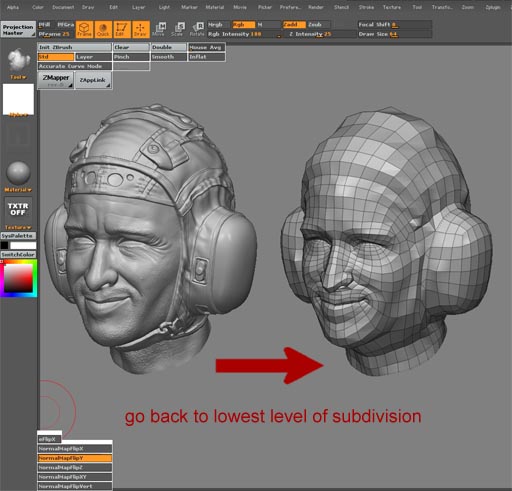
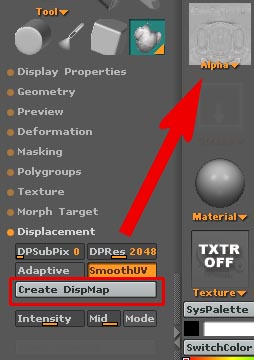
Once loaded, we will generate a displacement map. Go back to the lowest level of details, in the tool panel, click on Create DispMap (you might press Smooth UV's for better results).
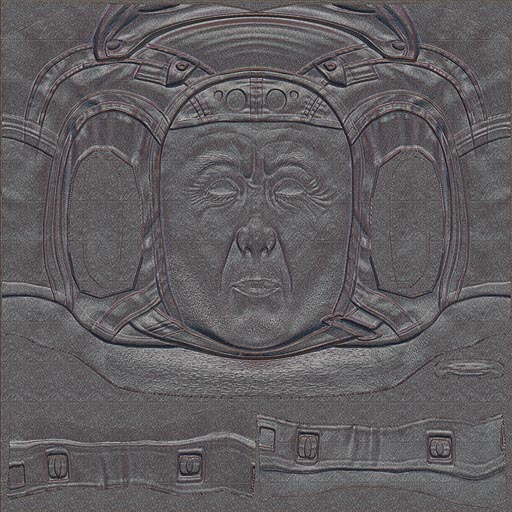
The displacement map contains all the volumes information of our model, but flattened and fitting to our UV's. We juste have to use this mat to create our diffuse map.
If its not done, select the generated displacement map. Secondly, select the material you want to bake (here its Jantim's bronze shader, slightly tweaked). The final step its to press Crop and Fill. It will fill the canvas with the selected shader, according the displacement map volumes.
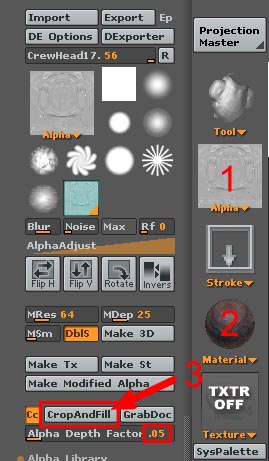
The alpha depth factor modify the intensity of the displacement.
Here's the resulting map. Considering it's not a ray casted diffuse map, there might be some distortions due to the UV smoothing but most of the map fist the model.
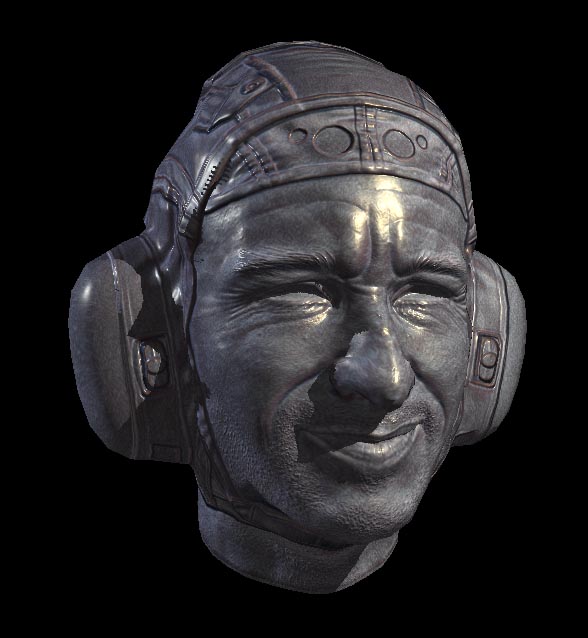
Here's the map applied to the realtime model (+normal map), viewed in maya :
The low res of the same model :